Real Sculptors Pour Their Own
The best thing about working in bronze is the pour!
The best thing about working in bronze is the pour!
This documents a March 2012 investment molding of two half life-size figures, burnout, and bronze pour. This pour was done at the small foundry in the sculpture department at the University of Utah, while I was teaching a 3-D foundation class in wood shop skills. My assistant is a senior in ceramics who wanted to learn the process of casting large forms, and my lovely wife Elizabeth helped as well.
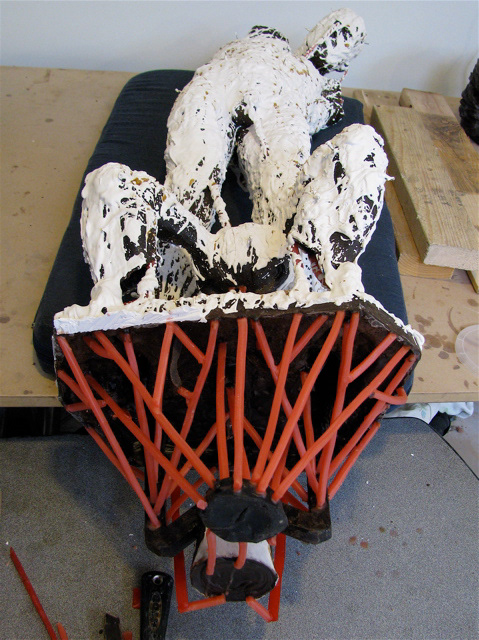
The two wax figures are already gated & sprewed, with a flick-coating of plaster added for strength and to push the surfacing I am after.
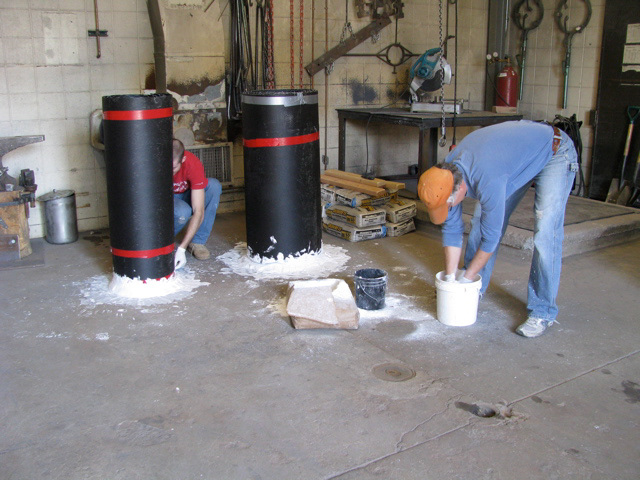
Tar-paper wrapped around chicken-wire acts as the investment mold, and these are anchored to the ground with plaster. Before anchoring them, always clean the concrete and use a soap release so the mold pops cleanly from the floor.
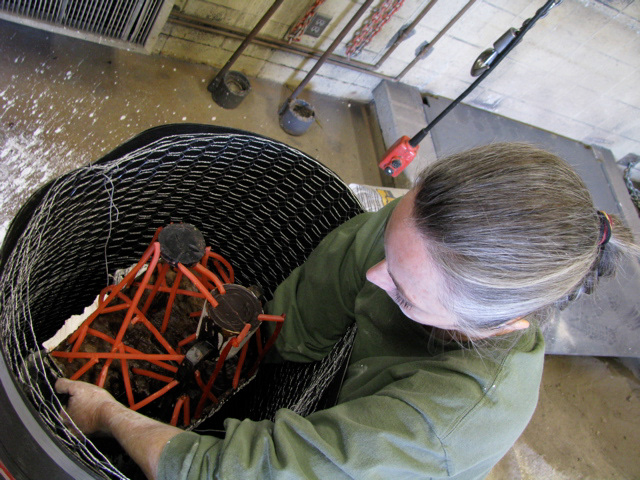
Plaster/Sand/Water are mixed in equal volume and poured into the mold, while the delicate sculpture is patiently held within the mold by Elizabeth.

Investment Mix Ratio by volume of 1:1:1 for Sand:Plaster:Water. Sand is much denser than plaster by volume, so always account for 1/3 more weight of clean sand to weight of plaster. 500lbs of plaster requires 750lbs of sand (go heavy with sand, as it is cheap). Add in additional plaster for sealing to the floor.

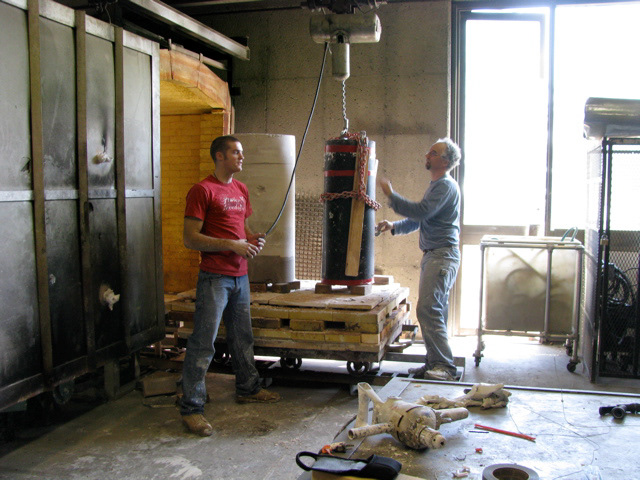
The molds now weigh around 600lbs & 800lbs per unit, and must be loosened from the floor, chained to a hoist, flipped, and flown to the burnout cart. The combined molds used 400# of plaster.

Three lengths of 2x4, running the entire length of the molds, keep the chain from crushing the mold. The hoist is used to control a drop to the ground, and the investment is flipped over to allow the wax to flow out when heated in the kiln.

The chain is positioned above the midline to lift with a low center of gravity, but without the danger of flipping. The big electic hoist pulls it airborne.

Keep your feet clear, and don't try to save it if things come apart- just get out of the way. No one can alter the course of an 800# gorilla.
The molds are positioned on a tripod of firebrick, to allow heat to circulate and wax to melt out.

The tar-paper is removed, the cart is pushed into the kiln, the kiln door is sealed, and we fire her up.

Leverage is a kind of muscle magic.
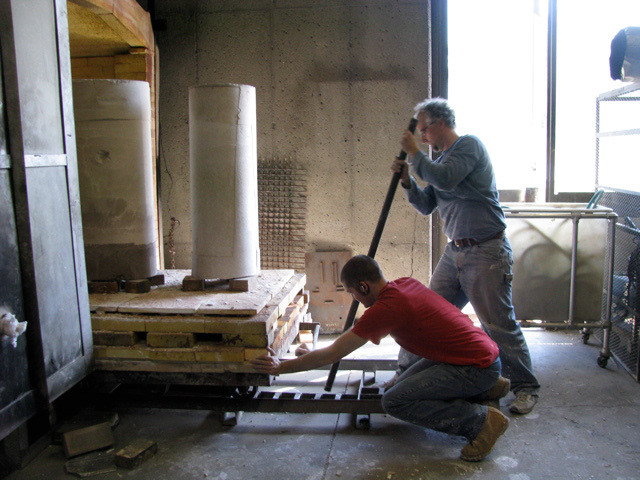
Smooth delivery of leverage force squeezes the forms along without toppling them from thier tripods.
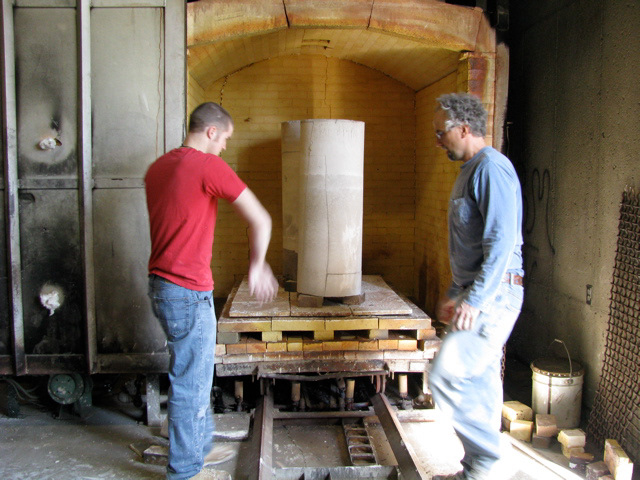
The long day of grunt labor is nearly done. That is one more essential industrial process without mishap; clearing the way for more essential procesess with greater possibilities for mishaps.
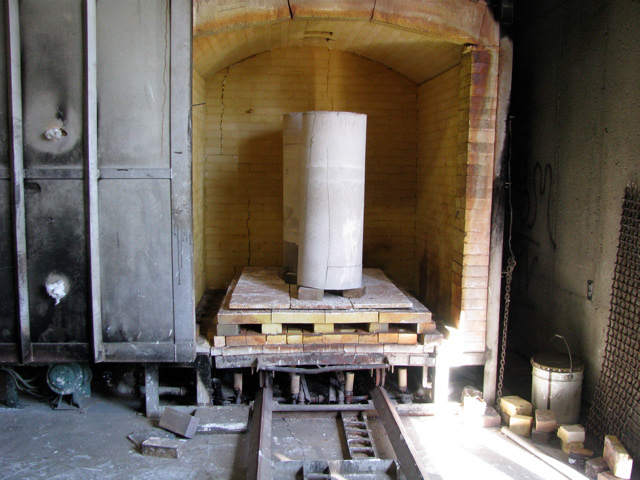
Loaded in and everything looks clean for the burners below and the vents above. The door is clear and ready to close.
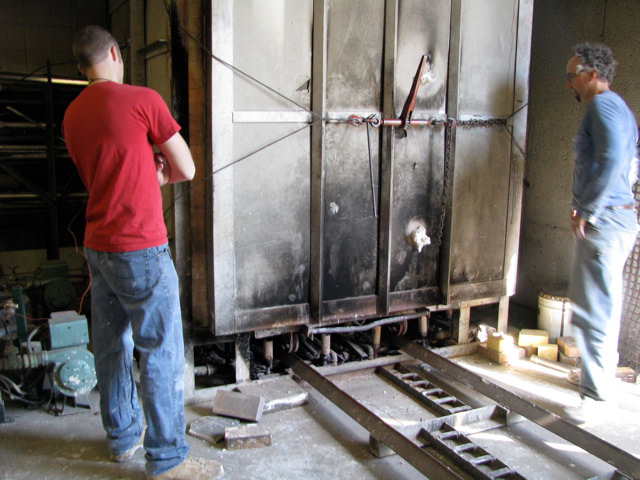
The wratchet and wires close the door tight and square.

We discuss the tempermental kiln:
Then adjust the dampers on the top to control heat / reduction, and adjust the burners. Temps can be brought up pretty quickly, as the molds are very wet and the wax will steam out. Temps must not climb above 1,000 degreees, then must be held steady at 1 hour per 1/2-inch of mold diameter. Then I add about 1/4 more time to that. I found that this kiln tends to flow heat up the walls and give a false temp reading, and molds often do not burn out entirely. The wax melts out in the first 6-8 hours, but the molds need to vitrify and wax char needs to atomize. If this doesn't occur, gases form when the bronze is poured and bubble the bronze which alters the surface of the delicate mold, or can tear up sprews, gates, and the entire form. Casting with this facility would have to happen more regularly to get the timing entirely dialed in. That or let it burn out a third day- which means a third night of babysitting the temperature and two days was already doing me in...
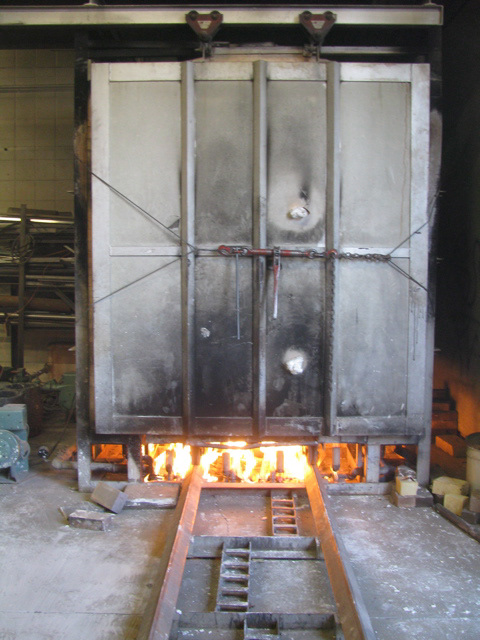
Central burner strips lit.
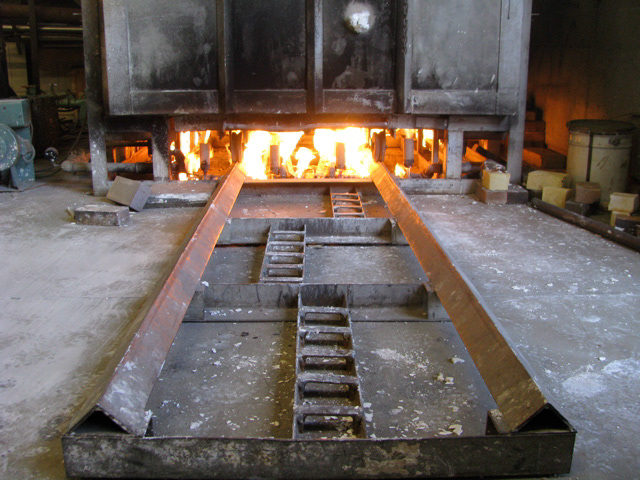
Outer burners join the central burners. We can bring the heat up fairly quickly using the escaping steam to melt out the wax. The only trick is to catch the temperature at about 1,000 degrees, as the molds initially act as heat sinks or like big ice cubes and backing the temps down as the molds vitrify and gain temperature is important. If the molds get too hot, the plaster breaks down at the molecular level and all is lost.

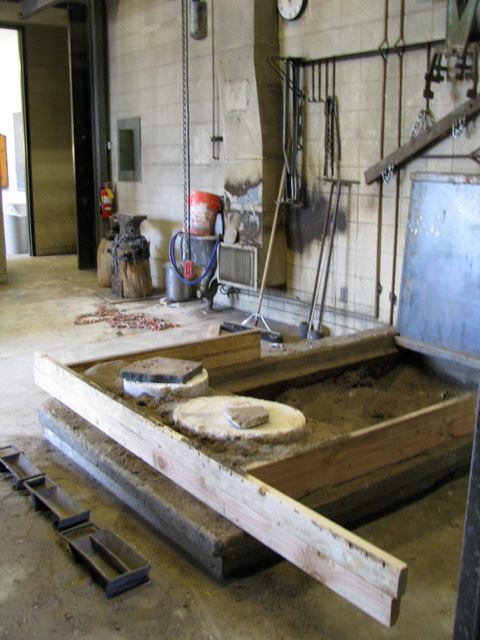
I dig out the sand pit while the molds heat up- a dusty job as the sand hasn't been changed out in decades and the sand is choked with debris as students cast forms directly into the sand, or into ceramic shell nested in the sand. The pit hasn't been dug out for a big pour since I cast Orpheus & Eurydice ten years prior.
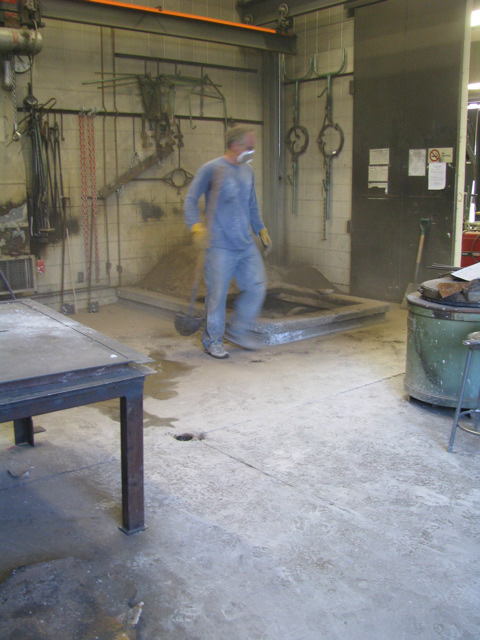
The pit holds overspill from years of sand-casting and resin-casting overspill. The sand is mostly steel powder and dirt and metal slag; back in my undergrad days it would have been my job to dig out the entire pit and refill it with fresh sand.
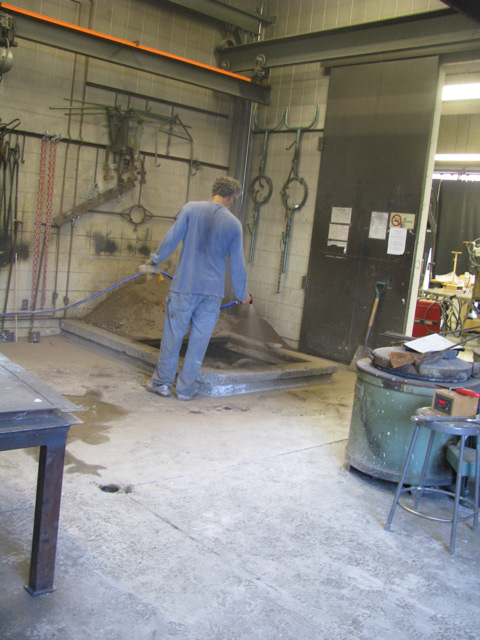
For a little sand-triage I repeatedly mist in some hydration. The sand can't be wet or molten bronze can bounce/explode or the mold may steam the surrounding sand and cause issues.
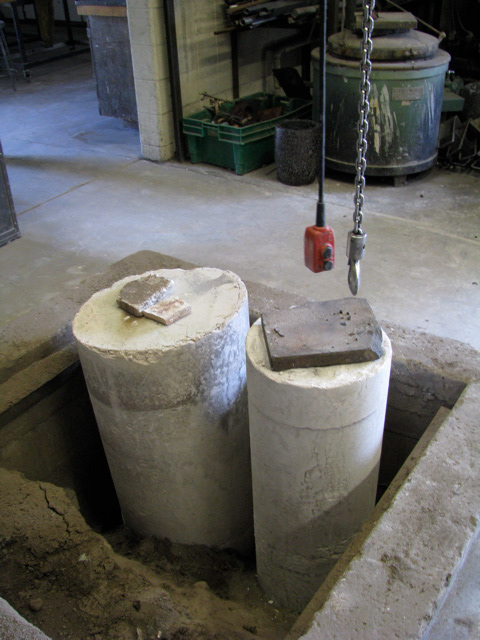
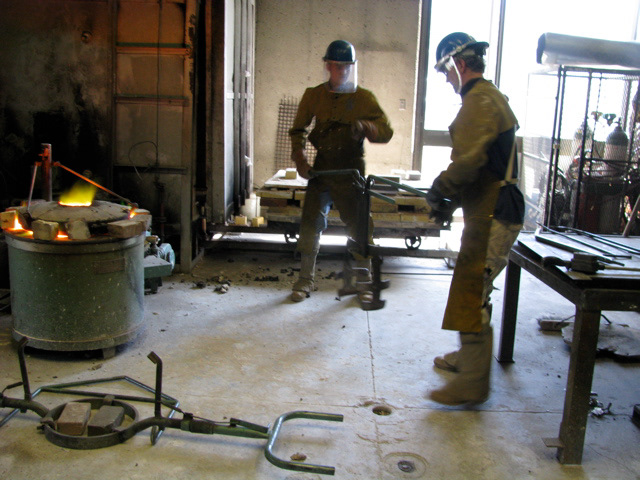
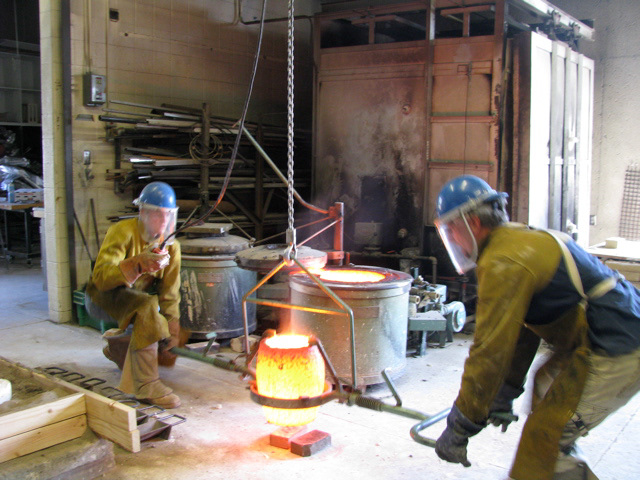
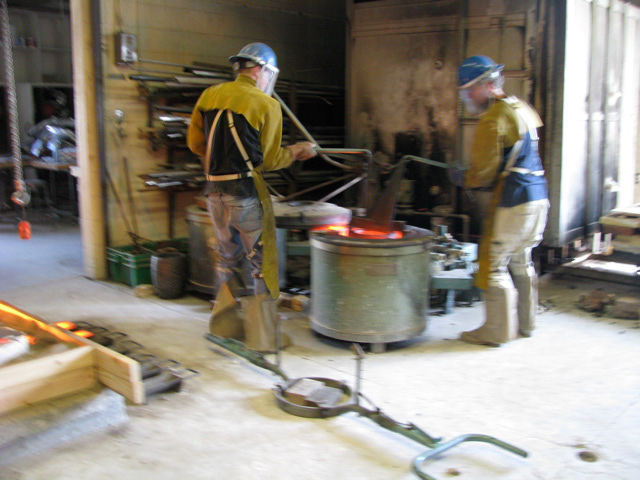
Temps in the kiln are slowly brought down, as too fast of a temp drop shatters the molds. When they are at 500 degrees they are pulled out, carefully flipped pouring-cups up, and set into the sand pit where the sand is rammed around them to add support. They are still at 500 degrees, and need to maintain internal heat to help offest the 2,000 degree molten bronze.
The pouring cups are covered and sand is filled in around the molds. I use some boards to bring the height up to the tops of the molds, as the sand pit ran short.
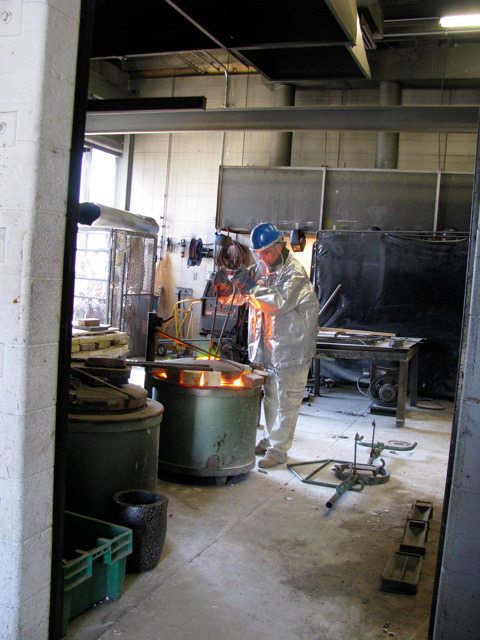
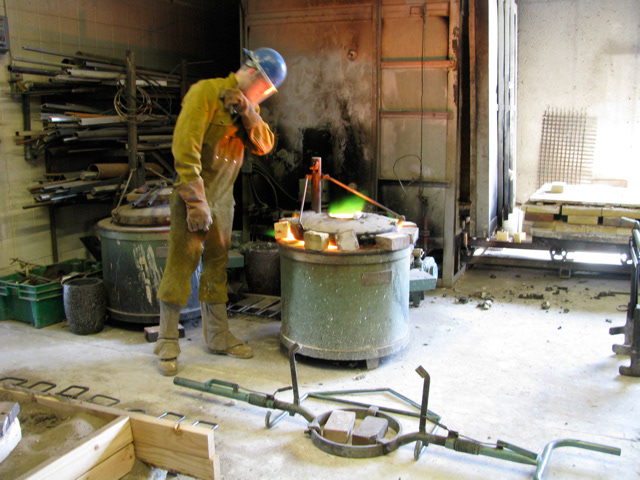
The crucible is set in the forge, with cardboard underneath to carbonize and keep the crucible from sticking. Bronze ingot is loaded loosely into the crucible, as it will expand as it heats and can split the crucible. The forge is fired up, the flame adjusted, and the bronze melts.

More ingot is preheated on top of the forge, including parts of figures I had held on to for years- but had to melt down as ingot was highly overpriced just then and I couldn't afford both figures.

The flame showed me a mistake in loading the forge- a smaller crucible had been used before and the base was set too high. This is why old hats at pouring will notice the lid has a gap taken up by kiln tiles / bricks lining the rim to keep the swirling flame in play.
The spare arms and legs from a decade ago are preheated and lowered into the molten soup.

The foot is a bit large and will just have to slump in as it heats up.
Now that's a hotfoot!
Insert foot into corresponding circle of Dante's inferno here.
The bronze will swirl when at temp (around 2,000 degrees). The old pyrometer is a bit spotty, so I also rely on my experience. In this case there were many impurities coming to the surface- from the old castings whose cores still retained some investment. I skimmed the surface again and again; no swirl. It seemed I was at temperature though. The casting adjunct happened by and offered some tin and a dose of Borax wrapped in tin-foil. This breaks the surface tension and loosens the alloy a bit- and we had swirl!
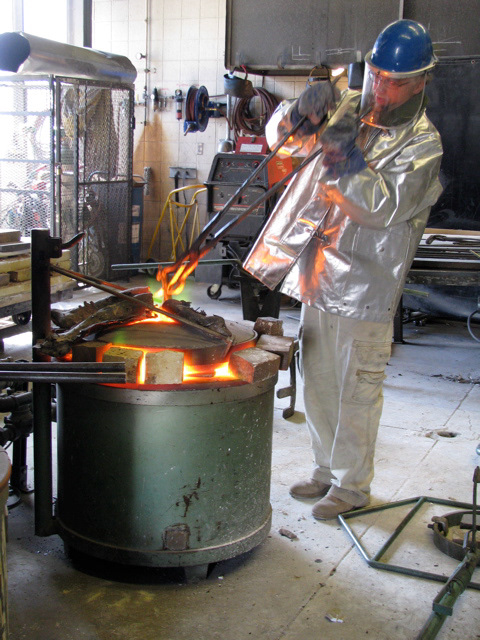
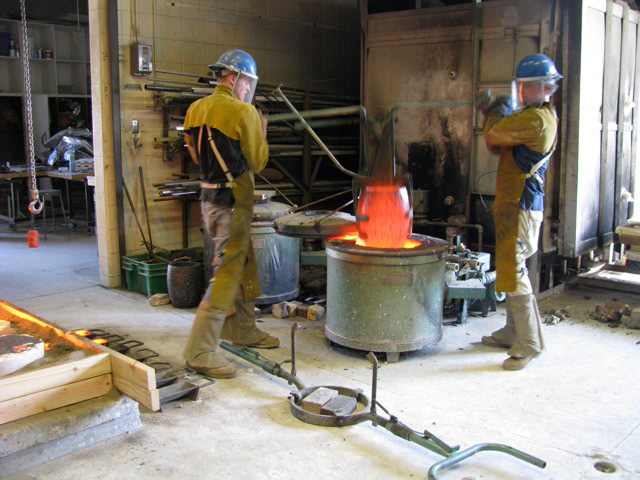
A bit of practice with the gear so I remember what I'm doing, and my assistant can see what we'll be about.
The green flame means we beginning to burn off essential gasses, and the bronze is nearly overcooked.
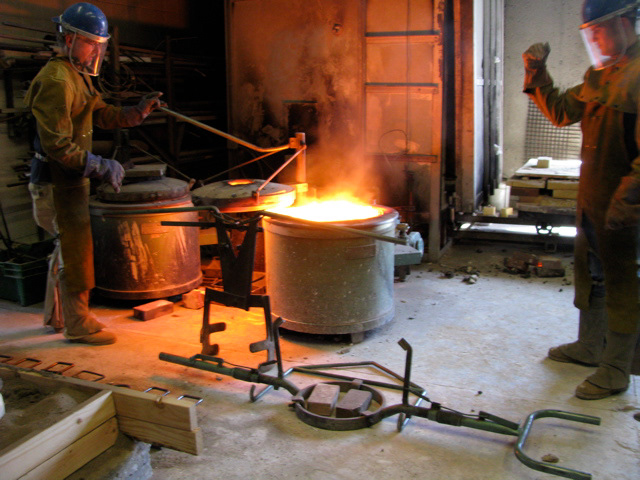
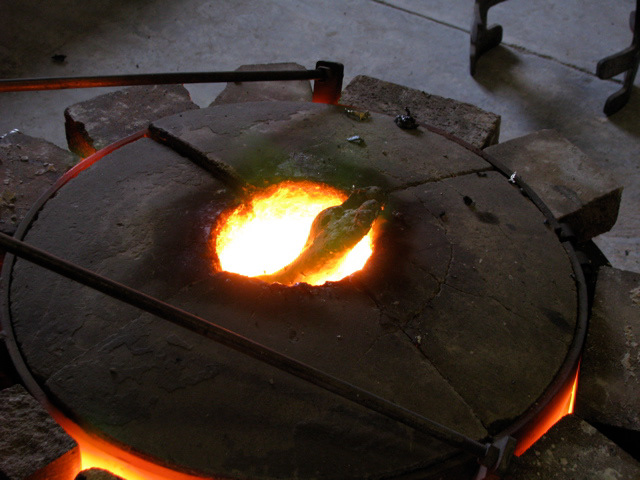
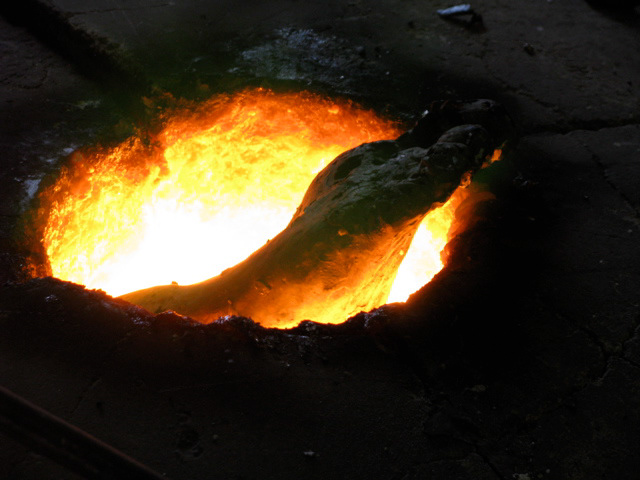
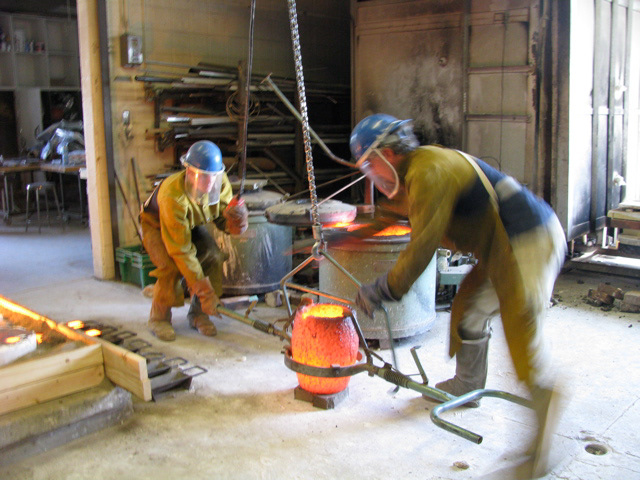
I shut down the blower and ease the lid open exposing the glowing sun of molten metal held in searing hot ceramic. It suddenly gets a bit toasty.

Back in the day I would muscle up and lift it out with another tough guy, but here we use the hoist for sanity and safety.
We ease the clamping calipers into place and use the hoist to frirm up the grip at dead center.
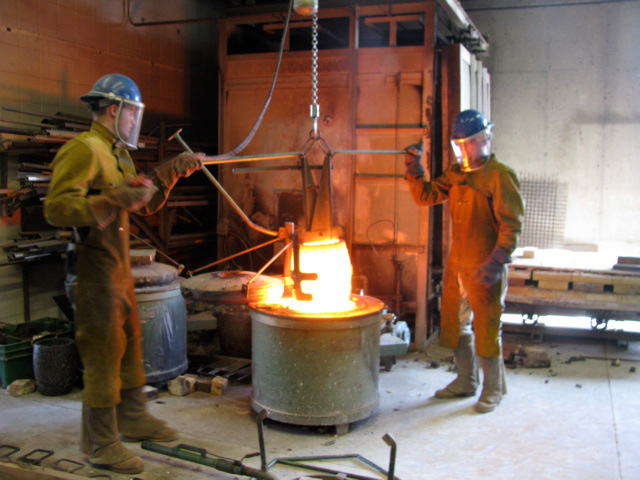
The button does all the lifting while I guide the pot.
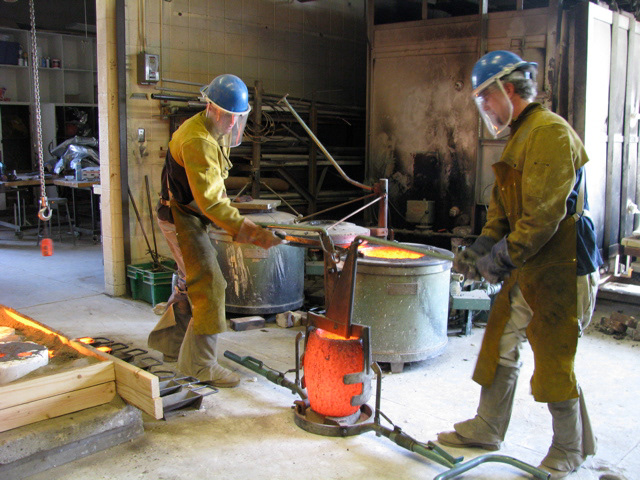
The lift for pulling the crucible out of the forge needs to be swiched out with our pouring arm. The kiln bricks on the concrete are crucial, or the crucible could shatter from the shock of the cold / moisture-laiden cement. It's those little details in every step that make this kinda intense, and the 2.000 degree heat.
Getting into position to gently clamp onto the crucible.

Clamps are nearly in position, hands are heating up.
Back to the hoist.
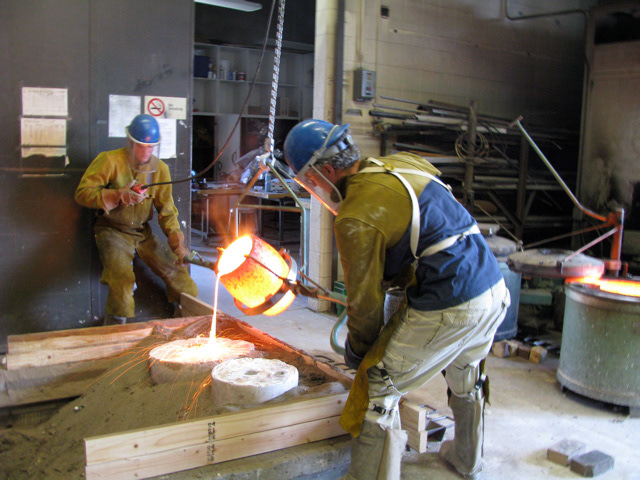
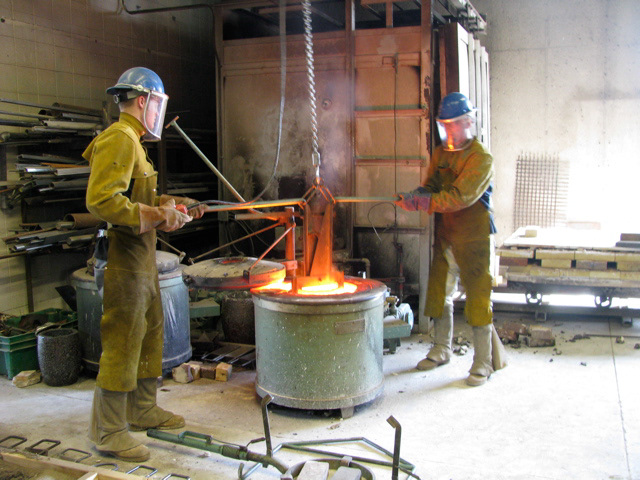
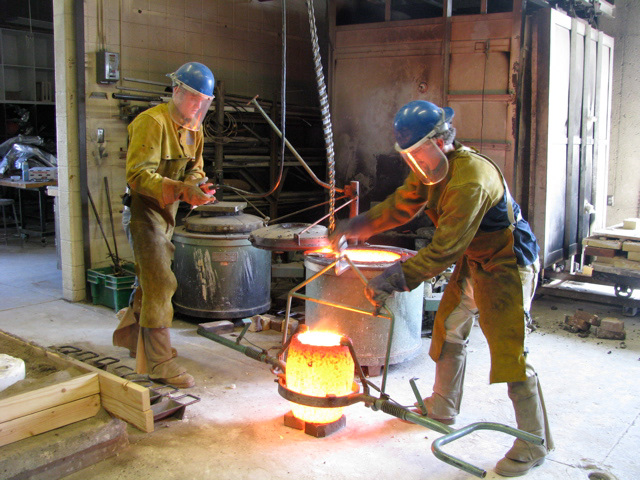
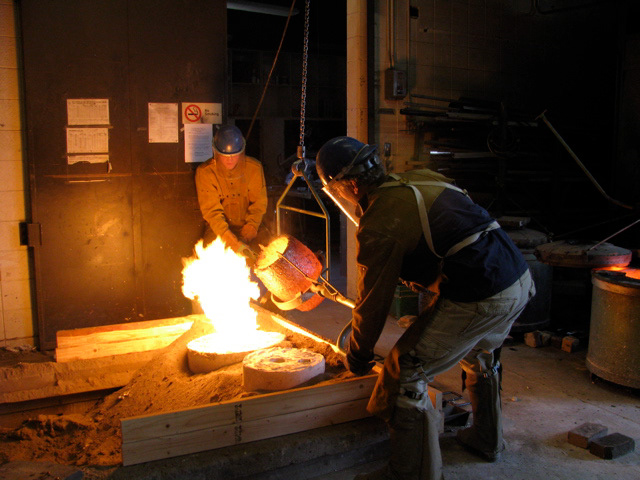
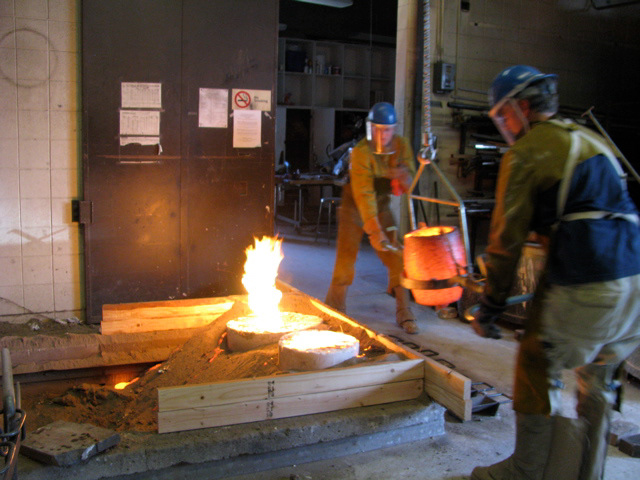
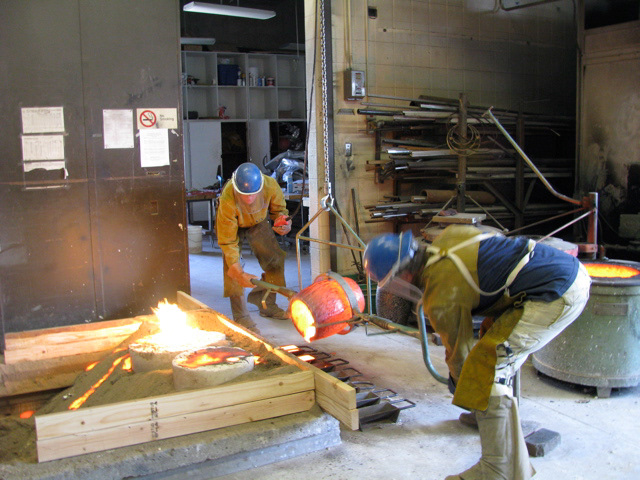
I control the pour on my end, while my assistant controls the hoist.
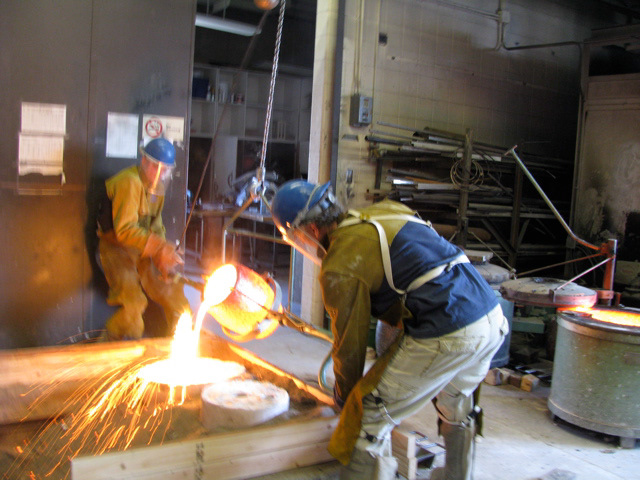
Time to pour.
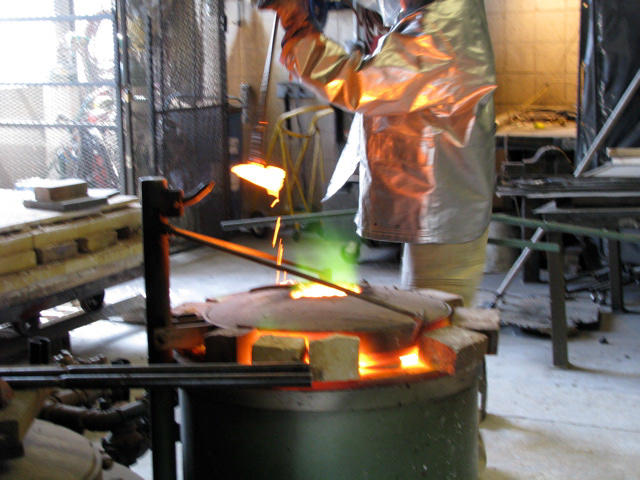
The larger form had not entirely burned out. This is telegraphed by erupting a gas flare from the air vent. The gas carries molten wax and gasses mixed with molten bronze making a fire-fountain.
The larger form had not entirely burned out. This is telegraphed by erupting a gas flare from the air vent. The gas carries molten wax and gasses mixed with molten bronze making a fire-fountain.
This eruption from the air vents means I'm getting some pretty wild flashing and/or bubbling gas throughout the figure. Some extra process marks for the final piece, but it there is also the possibilty that the mold will give out and all the metal will pour through into the sand.
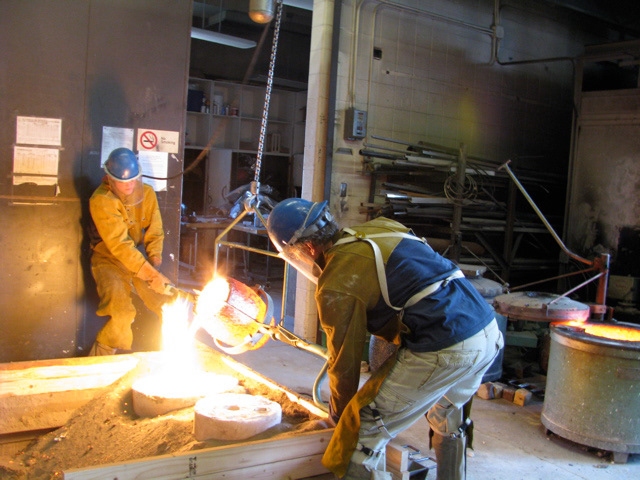
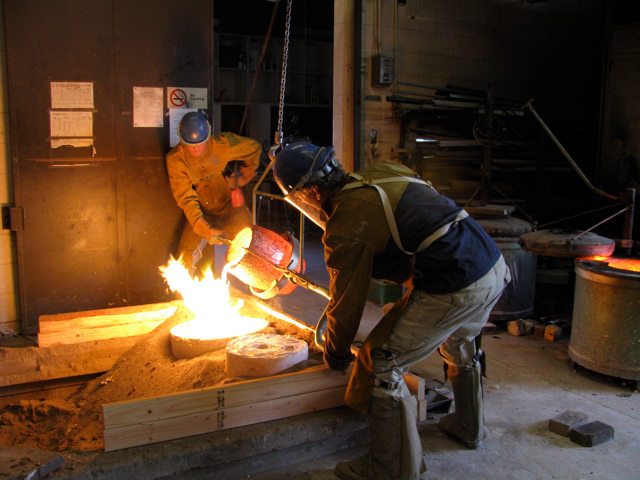
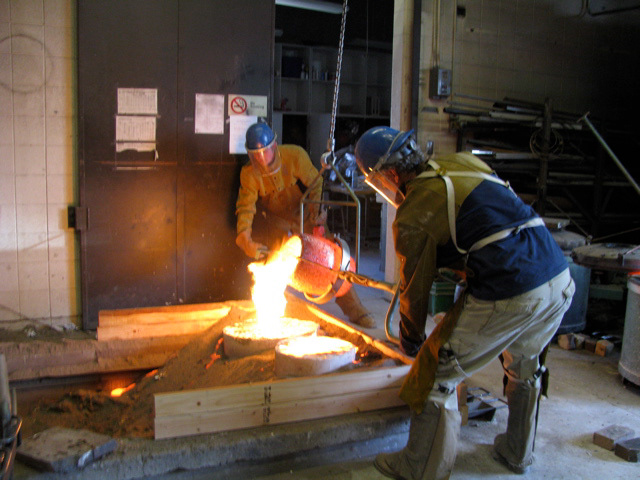
I slow the flow a bit to keep from shattering the mold from internal pressure of gasses and bronze weight.
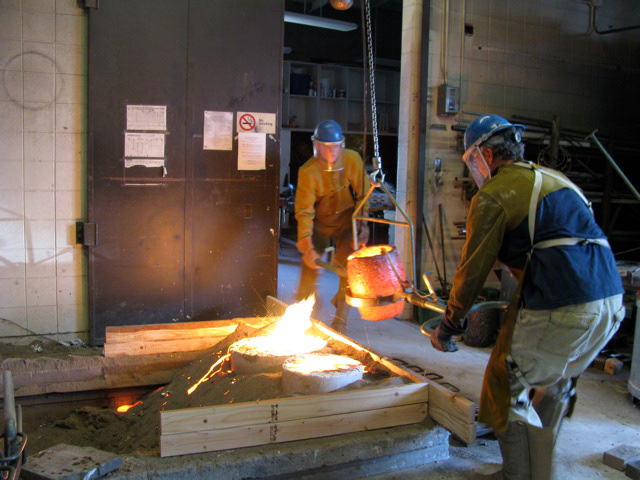
I'd noticed my assistant was freaking out a bit, and calmed him down. Here he is feeling better, and we are ready to move to the next mold. It is smaller, and I expect it has burned out clean and the bronze will flow in smoothly.
Or smooth-er. We are taking nearly too much time, as the pouring temperature needs to run hot to shock the mold to create my effect.
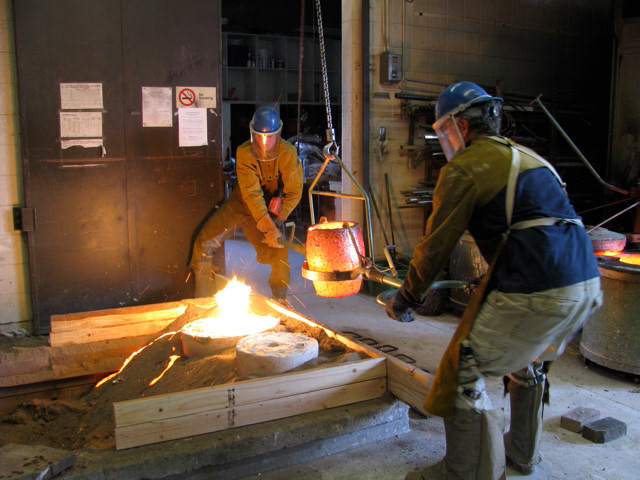
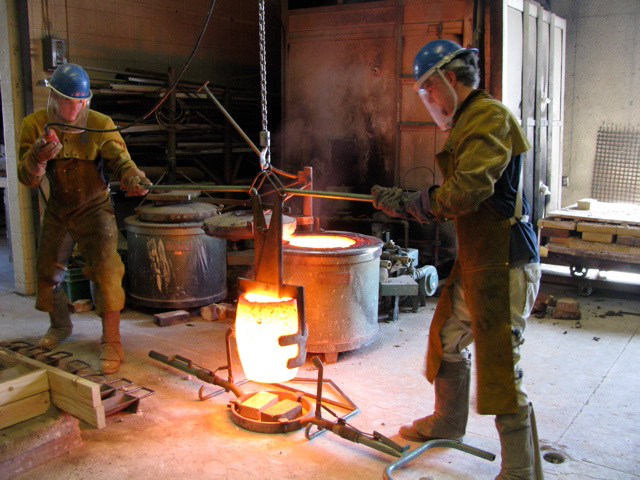
We move off Mt. Vetruvius and line up for the next shot.
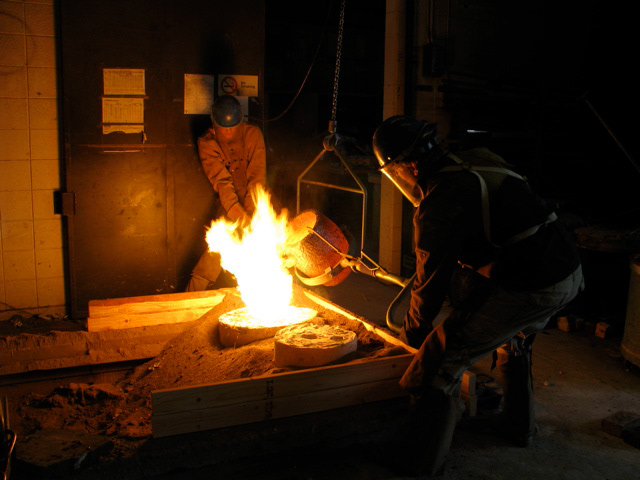
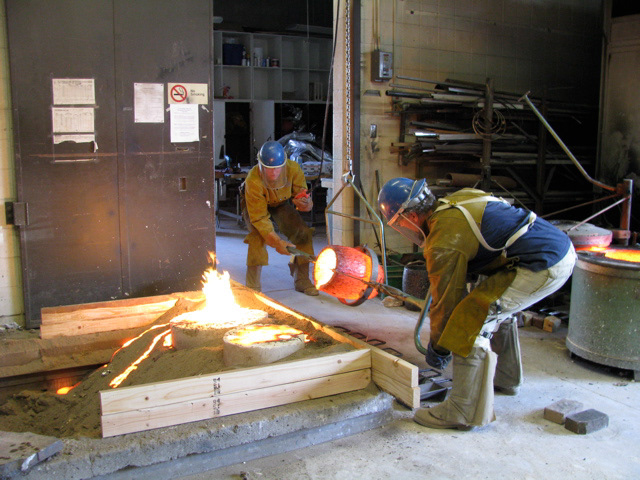
Pouring clean and hot, it drops down the hole with amazing energy.
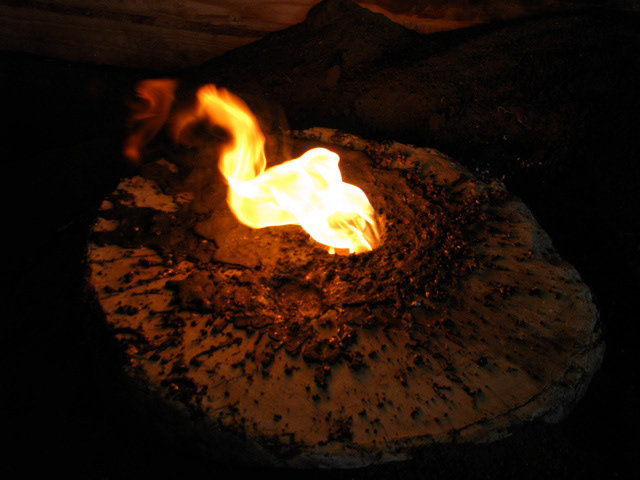
It fills clear to the top and glows, while the larger investment continues to flare. We'll hit the larger again and hope to fill it out.
Both molds are successfully filled to the tops of their cups!
Now we'll pour the remaining bronze as ingots.
Lining up over the steel ingot molds.

Pouring ingots. You always want to have enough bronze to pour some ingots, running your weight estimates high- if you run short in the pour the entire process is ruined.
Just 1.5 small ingots. Good thing I melted down all those old body parts!
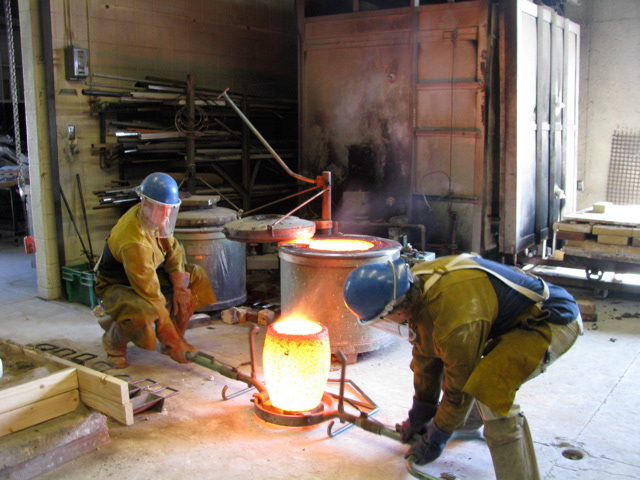
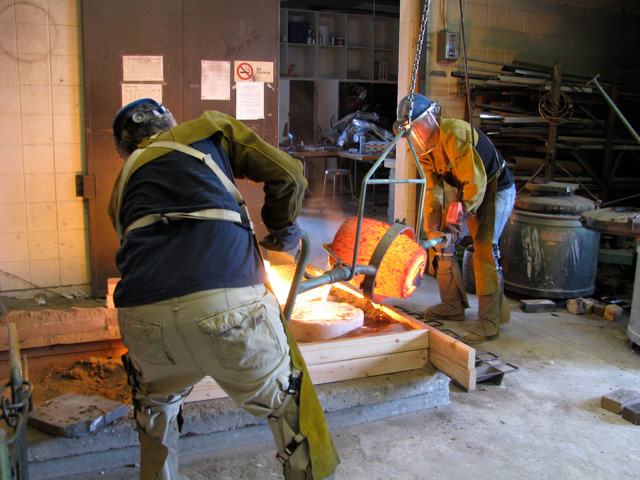
Now we reverse our process, and put the crucible back in the furnace to slowly cool it back down.
We won't need the hoist for this bit. First a soaked square of carboard is put on the bottom of the furnace, it will act as a layer of char that keeps the ceramic crucible from sticking to the firebrick base.
Muscle up and gently lower her into place.
We give things a little wiggle to find center as see that things are sitting square, then pull away clean and swing the lid back into position and cover the hole with brick to retain heat.
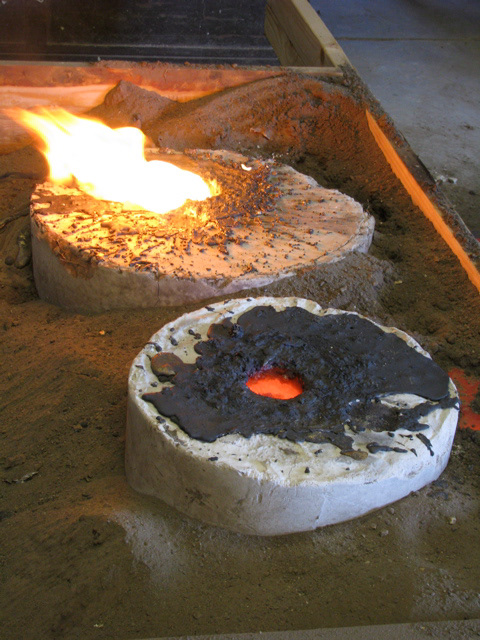
the big mold is still flaring, and when it stops I'll place firebricks over both molds to help even the heat chimney, and leave them overnight to cool.
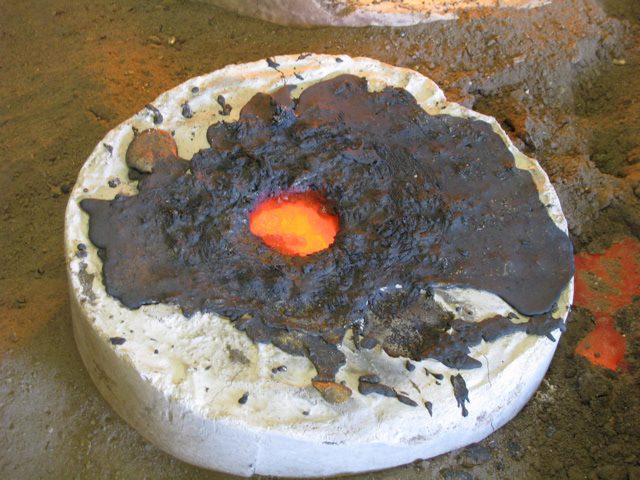
Neither mold has burned out entirely clean, as the slag on the smaller mold is accrued gunk from inside the form.
Hephaestus is real.

I head out for some water and while the broze works its magic on my assistant.
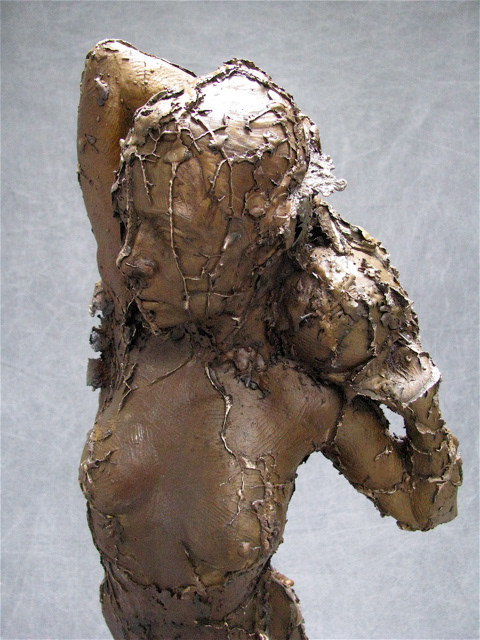
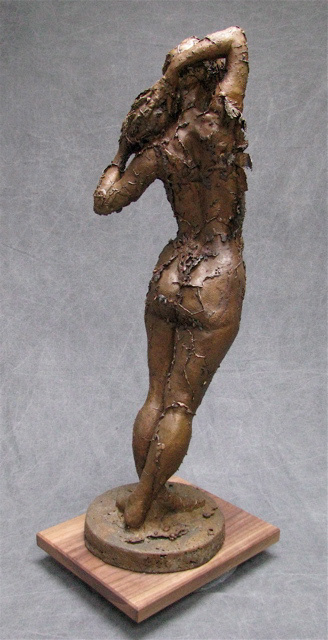
The smaller invesment held this form, and the flashing occured nicely throughout the form.
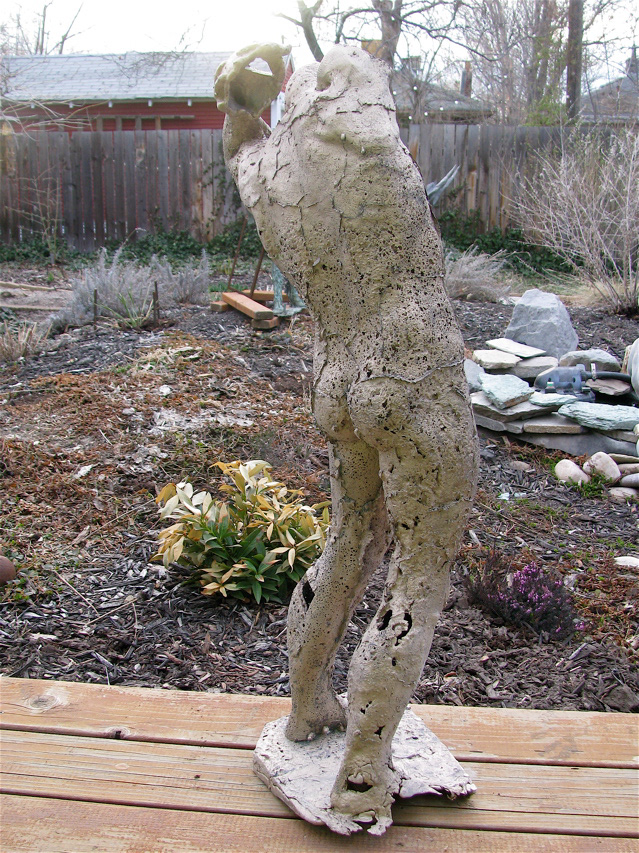
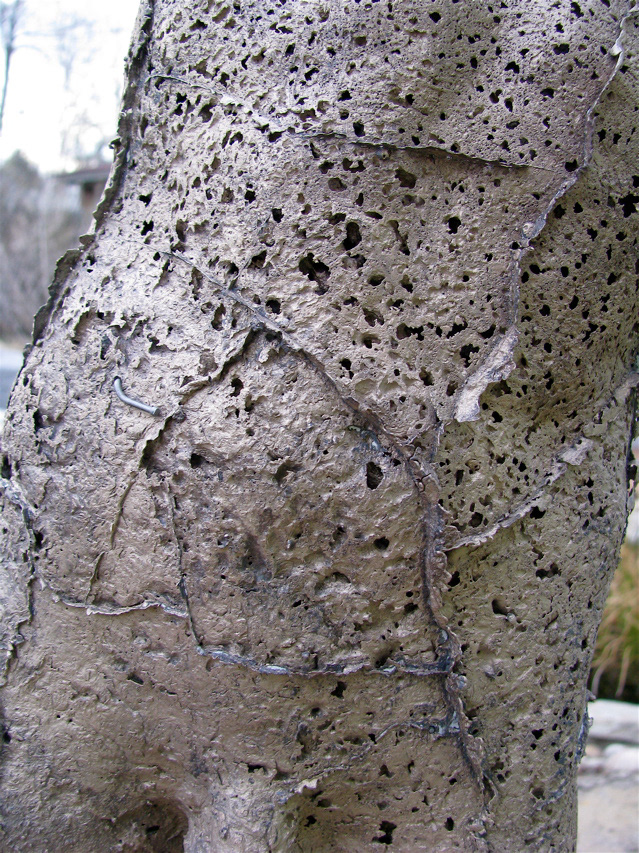
This is the larger form prior to welding a few parts back together. Some areas were lost, but that is fine. The gasses did an amazing honeycombing.

His arm had been cut off prior to investment, and had been gated in along the main vent. It was lost, coming out as black charr that turned to powder.
Amazing surface texture, flashlines, a core pin or two. Better than I imagined- a new result and one I would be hard-pressed to re-create.